Making a bracelet with elastic is a fun and creative activity that allows you to express your personal style. In this comprehensive guide, we will explore everything you need to know about tying a bracelet with elastic, including materials needed, step-by-step instructions, and tips for creating your unique designs. Whether you are a beginner or an experienced crafter, this article will provide you with the insights you need to create beautiful elastic bracelets.
Bracelets made with elastic are popular due to their flexibility and comfort. They can be made with various beads, charms, and other decorative elements, allowing for endless customization options. In this guide, we will cover the tools and materials you’ll need, the techniques for tying the bracelet securely, and some creative ideas to inspire your designs.
By the end of this article, you will have all the knowledge necessary to confidently tie a bracelet with elastic. So, let’s dive into the world of bracelet making!
Table of Contents
- Materials Needed
- Preparation Steps
- Designing Your Bracelet
- Stringing the Beads
- Tying the Elastic
- Finishing Touches
- Tips for Success
- Conclusion
Materials Needed
Before you start making your elastic bracelet, it’s essential to gather all the necessary materials. Here’s what you’ll need:
- Elastic cord
- Beads (various types and sizes)
- Scissors
- Measuring tape
- Optional: Crimp beads or knots for securing
- Optional: Glue for added security
Preparation Steps
1. Measure Your Wrist
To ensure a proper fit, measure your wrist using a measuring tape. Add an extra inch to the measurement to account for the knots and beads.
2. Cut the Elastic Cord
Once you have your wrist measurement, cut a piece of elastic cord that is at least 2 inches longer than your measurement. This extra length will make it easier to tie the knots later on.
Designing Your Bracelet
Now that you have your materials and prepared your elastic cord, it’s time to design your bracelet. Consider the following tips:
- Choose a color scheme that reflects your style.
- Mix different bead sizes and shapes for a more dynamic look.
- Incorporate charms or pendants for added interest.
Stringing the Beads
Start stringing the beads onto the elastic cord according to your design. Here’s how to do it:
- Hold one end of the elastic cord and begin adding beads.
- Make sure to push the beads towards the middle of the cord to create space for more beads.
- Continue adding beads until you reach your desired length, leaving some space at the end for tying.
Tying the Elastic
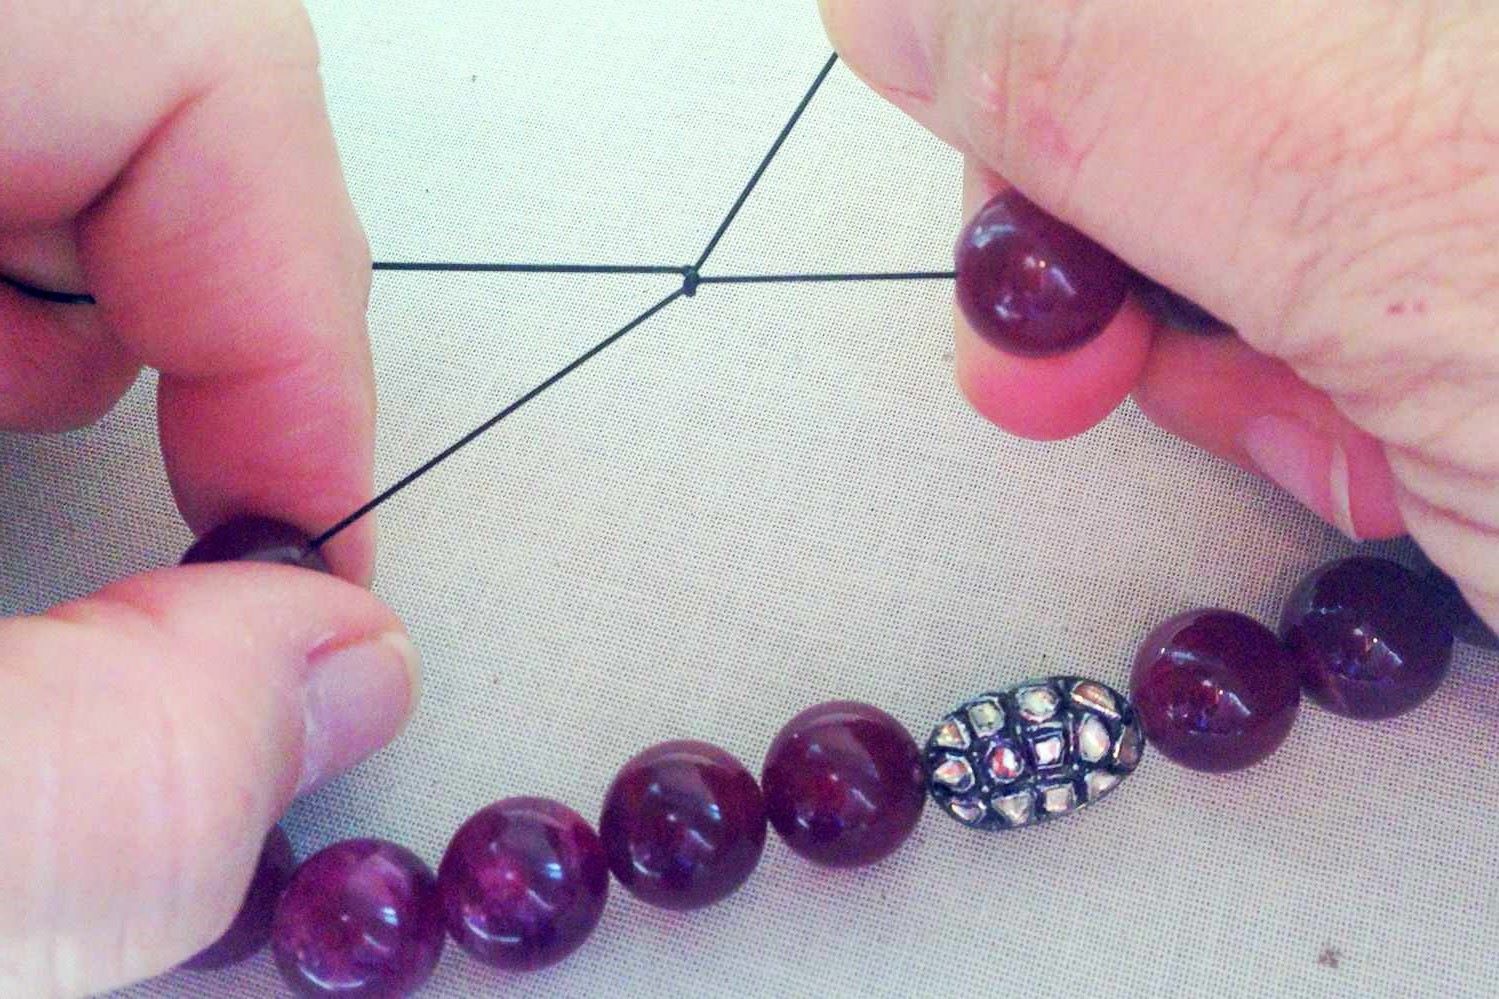
Once you have added all the beads, it’s time to tie the elastic securely. Follow these steps:
- Take both ends of the elastic cord and bring them together.
- Form a simple knot by tying the two ends together.
- For added security, tie a second knot.
- If using crimp beads, slide a crimp bead over the knot and flatten it with pliers.
Finishing Touches
After tying your bracelet, trim any excess elastic cord with scissors, leaving about 1/4 inch. If you used glue, allow it to dry completely before wearing the bracelet.
Tips for Success
Here are some additional tips to help you create the perfect elastic bracelet:
- Experiment with different bead combinations and patterns.
- Use high-quality elastic cord for durability.
- Consider using a bead stopper to prevent beads from slipping off while you work.
Conclusion
Making an elastic bracelet is a simple and enjoyable craft that allows for endless creativity. By following the steps outlined in this guide, you can create beautiful bracelets that express your personal style. Don’t hesitate to experiment with different designs and materials. We encourage you to share your creations with us in the comments below and join our community of crafters!
Now that you know how to tie a bracelet with elastic, it’s time to get started. Gather your materials, unleash your creativity, and enjoy the process of making your unique bracelet.